Saturday, 31 May 2014

Big Bag Finished

The second Big Bag is finished and I am now calling it a Craft Sack as that is what it looks like!

Very substantial and big enough to carry a cutting board and lots of rulers, equipment and fat quarters.

It takes a while and needs some wheedling to go into the sewing machine at times as well as plenty of room around the machine but worth it in the end.

A comprehensive worksheet is written up with blow by blow instructions for those who want to make the bag.

I have Fast-2-Fuse available for £7.50 for a 22" X 22" square which is the size needed for this bag.

My next goal is to finish the Scrap House Quilt so that those who want to do that have something tangible to look at.

I have been thinking about the 'Arts' content of our sessions and have some ideas which I hope will be exciting and interesting. 

Already mentioned to a few people is the block printing idea which can be the basis for making some insulated placemats (or table runner).  Nothing to show you on that at present but I have some beautiful print blocks and paints and already invested in the insulated wadding at a competitive price when I was at the Quilt show.

A second project idea is to put photos or drawn images on to fabric using Transfer Artists Paper and then incorporating it into a sewn item which is then decorated in various ways e.g. a cushion, apron, wall art, folder cover or even a small book of images for a young child.

Let me know if you have other ideas or aspirations.

PS: If you have any casing strip left over when you get to the finishing part of your bag keep it safe because I will circulate a mini project for using the left over pieces.

Thursday, 29 May 2014

More Bag Making than Blogging

The new improved version of the very big craft bag is about two thirds made.  It is looking good and today I hope to get the handles made and prepare the lining.

So far I have made a very firm base, quilted it and added the top sections, also quilted.

 Pockets need to be interfaced and lined before they are attached to the seams and all is levelled off and matched up.


The picture here is of the pocket section being placed 8" from the top of the bag before the side seams are sewn up.

Once side seams are sewn corners have to be cut out at the base and create a gusset to form the sides of the bag.


 The gussets at the bottom have given the bag shape and substance and the whole thing is much firmer than the first original prototype.

Because the Fast-2-Fuse interfacing is so strong it does take quite a lot of manipulating while sewing and needs a fair bit of space around the machine because of the large shape.

Ironing the interfacing between the sturdy base and the base lining is better done on a full sized ironing board than on the pads we use at Quilters.  It needs steam ironing for ten seconds on each part so this is a job for doing at home I think.

Phase Two of the worksheet is written up and will be ready to circulate on Sunday. 

My aim is to get the bag completed by Sunday all being well - we shall see!

Sunday, 25 May 2014

Bag Making continued

Today I made the casing for the second bag. Strips are joined then sliced and then joined together again in a long strip.  All ready to attach as a casing when the bag is ready

I am writing up the worksheet as I go so not to miss anything and will circulate to those who want to do the bag at the next Quilting Arts meeting.


The pocket sections, which were made earlier and had sashing added all around, have now been interfaced as you can see here.


The next thing was to trim them and back with lining.   Here they are all ready to be attached to the bag when it is made.


The patchwork pockets are the biggest job on our bag but this is what gives it individuality and character.

The Bag Base: on this new improved version the base is lined and interfaced with a heavyweight interfacing called Fast-2-Fuse.  See the photo below.  I can supply this to those who want to use it.


 As the name suggests it is fusible on both sides and is enclosed between two fabrics - in this case between the sturdy outer fabric and a cotton lining which will not be seen but gives extra stability. 

The interfacing is washable and removes the need to put card or plastic canvas in the bottom of the bag. 

Here you see how it has been fused between the two fabrics using a hot steam iron. This part will be best done at home because it requires an ironing board, a steam iron and patience to stand there pressing each part for 10 seconds!

This is as far as I have got today but the next phase is to add the top fabric, then line with wadding and then a choice of how best to do the lovely quilting.

To be continued .....


Saturday, 24 May 2014

Craft Sack

Today I have been making a new Patchwork Pockets Strip for the Big Bag but emphasising the square nature of the Square-in-a-Square block design by using matching fabric all around the outer square.. 

I was disappointed with a number of elements of the first Big Craft Bag so rashly have decided to make another one with a couple of new improved features (I hope). 

I am using 7 different fabrics, 2 with pretty designs for the centre squares and the remainder plain for the outer squares. The strips shown here are ready to be sewn together and then cut up again to make the casing for this second bag.

Just a reminder: when some seams have already been sewn on each block remember to stitch the rest of the seams with the wrong side facing upwards so you can see the earlier seams are not getting twisted by the machine as you sew.

Press each block well in between sewing the next pair of seams.

Once the six blocks are made you need to create two sections with three blocks in each.  To do this add sashing to join three blocks together, then add two more strips at the ends.

The worksheet already circulated does not make it clear that sashing has to go at the ends of these sections as well as in between the blocks.
 Please ask me for a Phase One worksheet if you have not got one.

Then measure the width of the three blocks and sashing.  It should measure about 30".  Cut four sashing strips to this length and 1.5" wide and attach to the top and bottom of the two sections.

 To be continued ..................


Monday, 19 May 2014

Back to Blogging

At last I have sent off Module 9 for marking and it has been hard work.  First there were trimmings samples to do of cords, braids, tassels, buttons, beads and rouleaux - 10 of each"  Next to design a household item within specific parameters (I have designed a table runner).  Thirdly to produce an equipment folder, which will become part of the course notebook covering numerous aspects of patchwork and quilting.  Finally to make up the accessory designed and approved in Module 8 and mine was an Expedition Bag.  Thankfully I have completed the bag and now I wait for feedback and fingers crossed that I have successfully completed Module 9.

Here is a photo of the finished bag and some images of the decorative parts which went into it.

It has lots of pockets both outside and inside to hold sketch book, pencils, camera, tablet, phone, money and personal things.  It can be fitted with a cross body strap - not shown here.

To fulfil the City & Guilds requirements for this module there are some techniques used in the decoration.  Dimensional flowers are on the back and the front, above the button and loop on the outer pocket.

Dimensional applique is becoming a real interest to me and it may be something we could enjoy at our quilting arts group.


This one is padded and the bud is rolled and its calyx is stuffed like Trapunto applique.  Embroidery is added afterwards.

The one below is pleated fabric, again the calyx is stuffed and the stems are bias tubes.  French knots are added to give the impression of small buds.

 Note the self-covered buttons - another session at quilting arts??


The outer pockets are made from bias strips - a method invented by Jennie Rayment and which is a little bit like Cathedral Window quilting.

The sides of the bag are made from material which has been folded and tucked in a swirly pattern on the sewing machine.


Despite the bag being of a very useful design I can't use it because at the end of the course the School of Stitched Textiles (in Yorkshire) organises an exhibition of work and I may need to send it up to them for that.  So for now it lives in a plastic bag!


With that off the agenda I plan to return to our Big Craft Bag project and to the completion of the Scrap House Quilt. 

Watch this space .................

Friday, 9 May 2014

Blogging Break

For the next week I shall be working hard to get my City & Guilds Course Assessment piece done for Module 9.  It is a fairly complex bag, which I am calling an Expedition Bag since it will be suitable for crafters to carry sketch book and pencils, camera, tablet, phone, personal things and so on.  It will take up a lot of time and concentration so for the time being I won't be putting anything on the blog.

Once finished I will post a picture of the bag and get back to regular postings in keeping with our quilting and craft groups.

Until then here is a photo of some buttons and beads made from FIMO clay and which you may want to have a little play with at Bredon Crafters sometime soon.

.

Friday, 2 May 2014

Mini Project

The Big Bag shown yesterday can be described as a maxi project, 

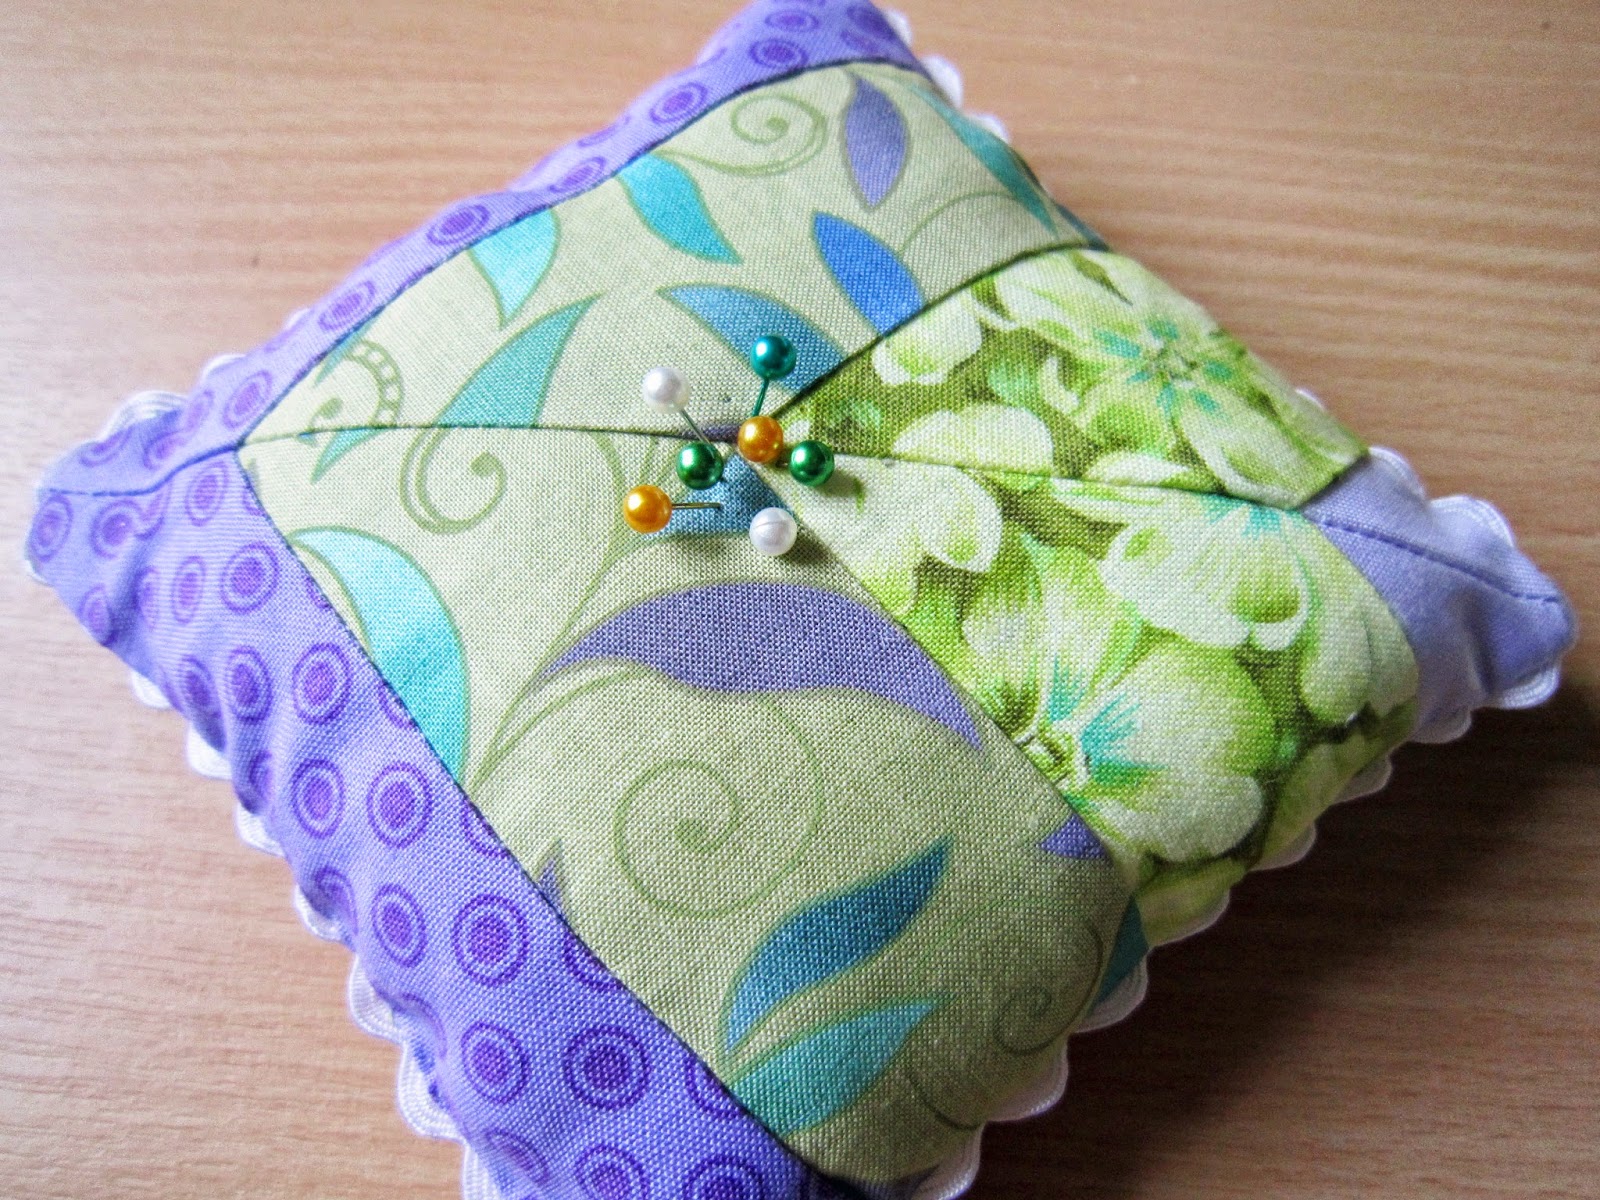
So at the under end of the scale in terms of projects here is a picture of the mini-project promised yesterday.  Details of how to make the pincushion will be circulated on a worksheet.

The patchwork blocks used are called rail-fence and are easily made by sewing strips together, making two 6" blocks, slicing diagonally and sewing back together again. 

Full details to follow shortly.

Thursday, 1 May 2014

Big Bag Phases

Having completed the Big Craft Bag I realise there are quite a number of separate phases to its creation. 

Quite a demanding project and not to be taken lightly but worth it when finished.

After the patchwork pocket section and the casing are made up (see earlier blogs below) the next phase is to cut out the fabrics for the base (substantial material and interfacing), then the fabric for the top and the wadding. 

Quilting can be done in whatever way appeals. 

Mine has some straight stitch quilting done with a walking foot on the substantial fabric base.  You will see the guide is attached to the foot to make sewing straight lines easier.  All this can be done with just a general sewing foot however.


 Next I free machine quilted the top of one side  I used the free motion foot on my machine - sometimes referred to as a darning foot (not shown here).

On the other side I tried Big Stitch Quilting and found it was fun.  After drawing simple shapes on the fabric you quilt around the shape outlines with a running stitch by hand using a perle embroidery thread, or yarn, or stranded embroidery cotton.


Then the patchwork and quilted pieces are trimmed and joined at the sides.  As the patchwork section is added it is divided into pockets, three on each side.

Next a gusset is created to give the bag depth and a lining is cut out to match the outer measurements.

I decided that a strong card base was necessary to give the bag shape and substance when standing on the ground.  This is cut to size with a craft knife (and I have plenty of strong card available for those who want it).  The card is slipped into the bag before completing the lining.

The next phase is to make handles and sew them on, the lining is put in and a casing is sewn around the upper section for a pull cord to be inserted.

The bag itself is large and as it is assembled gets unwieldy so some clever manipulation of the machine and sewing from the easiest direction is called for.  All good practice (I told myself when doing it). 

Not really helped by Puzzle wanting to be involved.

An easy mini project will be offered as an alternative to those who may have been put off by the above!