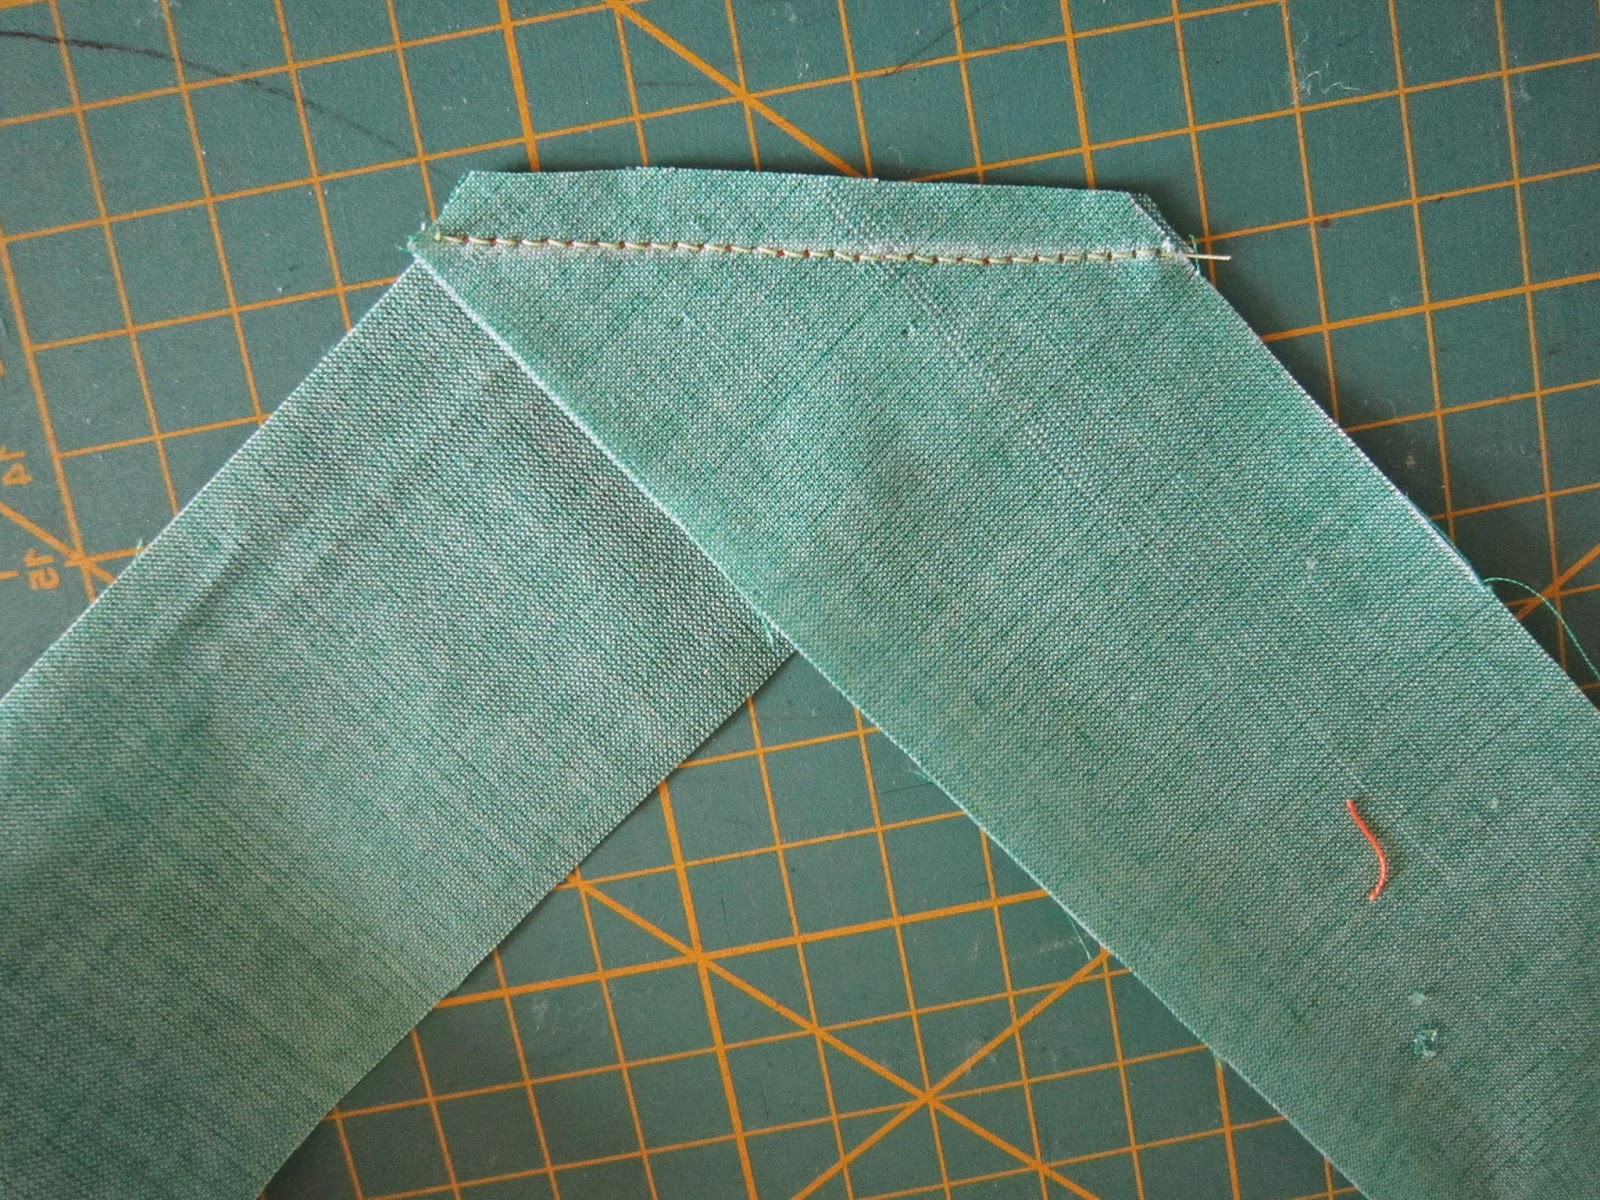
 Using single fold straight grain binding, 2" wide with a half-inch seam. On a 6" square sample the binding looks clumsy but on a bigger piece of work it would be fine.
 After calculating the length of binding needed it may be necessary to join some strips together. Place the two ends of the binding at right angles right sides together and draw a line across the intersection as shown. Sew and trim and press the seam open.
 Place the raw edges of the binding on your layers of fabric, wadding and backing leaving a good 4" at the beginning and starting from the middle of one side.
Use a half-inch seam and pin up to the first corner, but mark with a pin the half-inch stopping point before the corner. Begin to sew the binding but stop sewing at this pin ready to create the first mitre.
Fold the binding up and back in line with the second side then fold the binding down again to create a neat fold with the fold on the edge of the first side just sewn. Pin and sew from the fold right along the second side until half an inch away from the corner as before.
 Repeat around side three and the beginning of side four. Stop sewing about 6" away from the beginning of the binding. (My 6" square did not give me this much room but normally you would be sewing a bigger piece of work).
 Joining the binding: the beginning and end of the binding has to overlap by the same measurement as the width of the binding. Mine is 2" so it has to overlap by 2". Lay it flat, measure, and trim off the excess.
Place the two edges at right angles, right sides together and mark the intersection. Pin this seam and test to check that it will be the correct measurement to finish your binding lying neatly and flat. Sew the seam, trim and press open. Now finish pinning and sewing the binding around the work.


Once the binding is sewn all around push out the corners with your fingers and turn them to the back and the mitres will form.
 Finger press the mitres in place. Turn in the seam at the back shaping the corners into neat folds. Press
No comments:
Post a Comment