Saturday 26 July 2014

Ways to hang a wall quilt

There are a number of different ways to hang your wall quilts and I have put examples of four methods on each side of the small wall hanging I have done for my course work.

 Strange it may seem to have hanging mechanisms on each side of the hanging but this is because I have to demonstrate various methods of hanging a quilt.  I realised that I can also use it to present my edging samples.


First there is the hanging sleeve which most of us have done at some time and some of us used that method for our mini wall hanging of the little house. Here you can see it on the bottom of the picture.  I also used a hanging sleeve for my scrap house quilt.  It is basically a tube a little narrower than the width of the wall hanging and cut at about 8" in depth.  Neaten the edges then the strip is folded in half and sewn to the top of the hanging before the binding is attached securing it neatly in place.  The bottom of the sleeve is then pushed up into a pleat and hand sewn along the bottom.  Test how much pleat to push up by trying some dowelling in the sleeve and making sure when the bottom is sewn in place the sleeve does not peep over the top of the wall hanging.

Secondly you can use loops and the ones shown here are sewn on by hand with a button at the front.  They are 2" wide and were made as a tube cut into sections and the ends turned in.  Just make sure they are all exactly the same length and sewn on at exactly the same distance from the edge so that the wall hanging is level.  They should be no more than 8" apart.

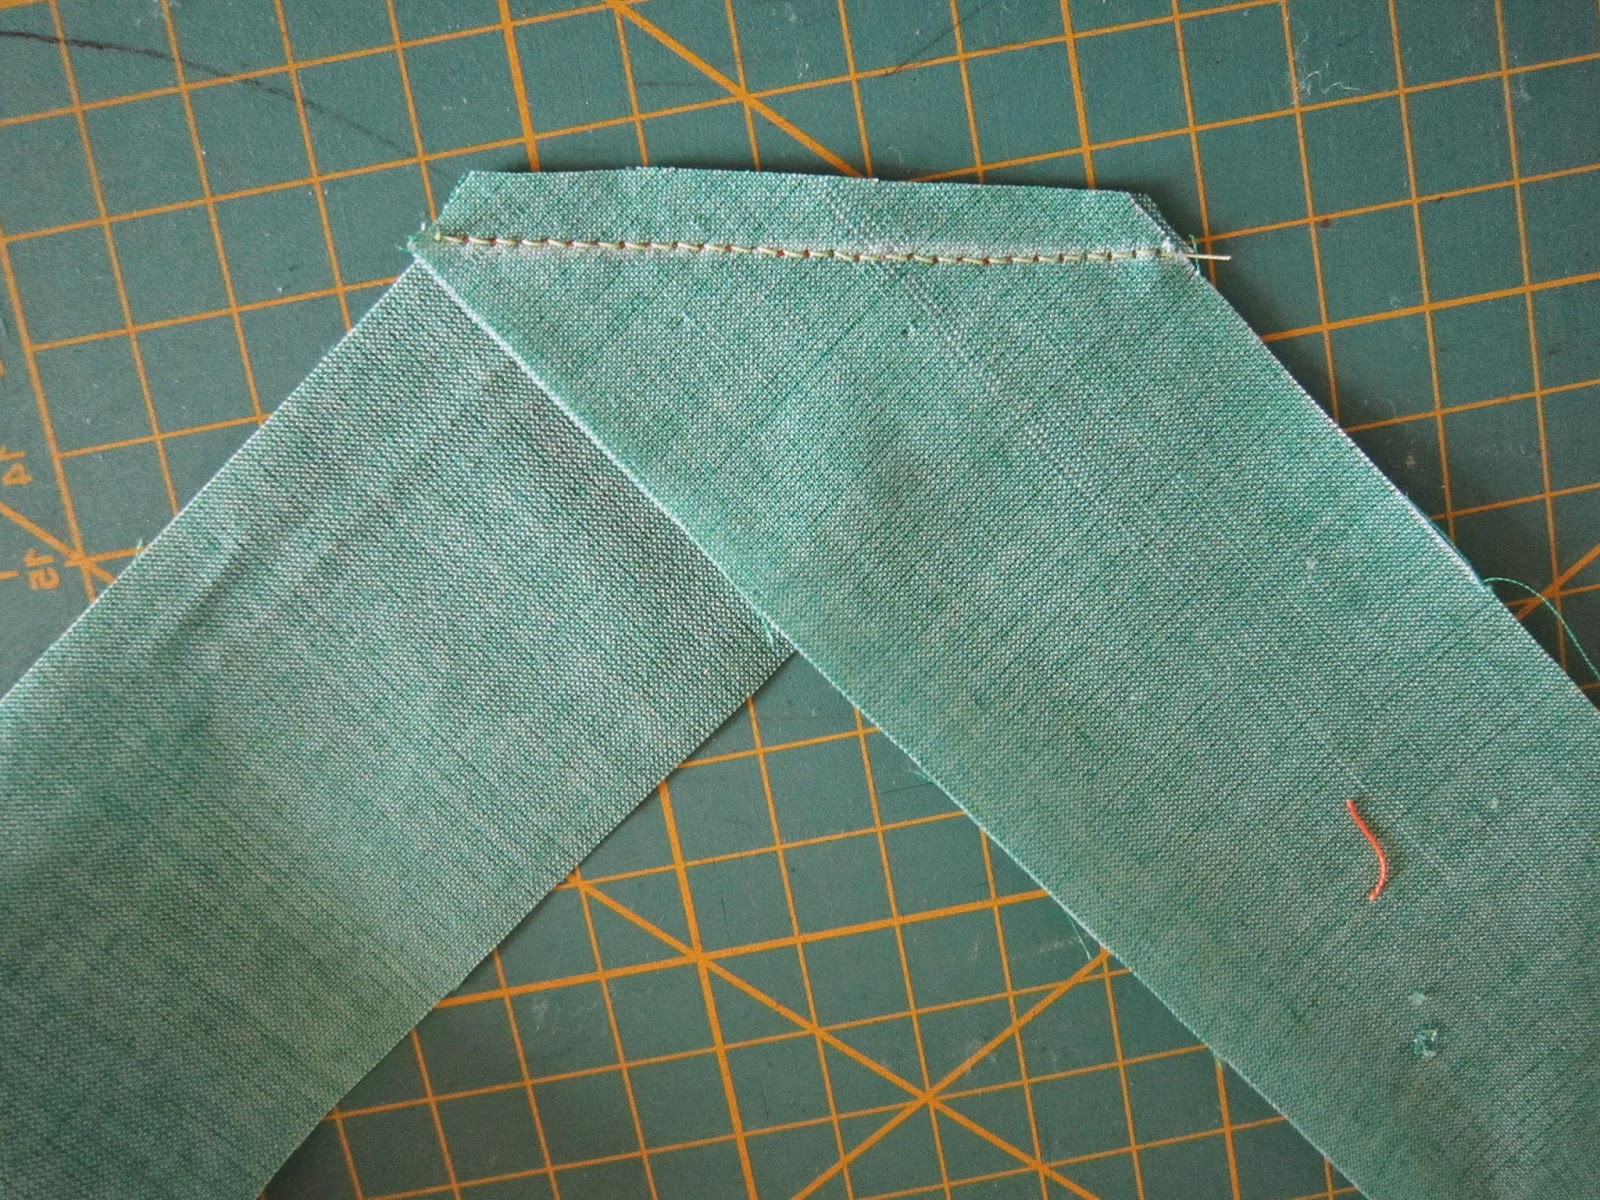
My third example is corner tabs at the top left and right into which a piece of dowelling can be inserted.  these are made by folding a 6" square diagonally and sewing the raw edges to the top corners of the hanging before binding.  Once the dowelling is inserted some cord is attached which can be hung on a single wall hook.

Finally I have sewn hook and loop Velcro along one side of the hanging.  


A piece of baton fixed to the wall with another piece of Velcro is how this would work.

Here I have used my demonstration piece as a means of presenting my edging samples.

 The remaining edging samples and the label will be described in my next post.


Thursday 24 July 2014

Edging with Piping

Now a complicated little sample, inserting piping with cord into the edging. We have used flat binding on a couple of our projects i.e. the small wall hanging and recently the placemats. This is similar but the piping has cord inserted so it stands proud and is more noticeable.

But first assemble your materials.  Using the 6" sample square again for illustration you need a top layer, wadding and a backing layer.  Also four 1" strips of fabric to encase the 4 pieces of piping cord, both  just a little longer than the 6"sides. 

You will also need continuous binding 2" wide.  Join your binding pieces in the same way as shown previously for mitred corners.  You can see in the photo the orange coloured strips at right angles and pinned at the intersection.  Sew this seam and trim to 1/4" as before.


First the piping: fold the 1" strips right sides together lengthways and lay the cord inside at the folded edge.

Put your zipper foot on the sewing machine and move your needle right up against the cord so that as you sew along the strip you are capturing the cord close against the folded edge and keeping the raw edges of your fabric level..

When you have sewn all four piping strips place the first two on opposite sides of the layered square with raw edges together. Tack them in place by hand and trim off the excess pieces as shown. 

Next place the two remaining strips on the two remaining edges overlapping the ones already tacked down and tack them in place as well.

At this point Puzzle got very bored and went to sleep.

Now for the binding.  This is a repeat of the method shown earlier for the squares with mitred corners so I won't repeat it here.  However you may remember it is necessary to stop sewing before reaching the corner, the same distance away as the width of the seam.  In this example the sewing has to stop at the outside corner of the piping, just in the angle where the two strips of piping cross over.  In the picture the placement is indicated with a yellow headed pin.

Because you will be sewing next to the piping the zipper foot will be necessary again and it is also helpful to move your needle up against the edge of the cord.   You are sewing along the outside edge close to the piping so that when the binding is in place it will form a frame around the square with the piping just inside.

After reaching the corner and fastening off you may remember how the binding is folded up and back down as shown in this image and then you start sewing again along the second side.

After sewing on the binding around most of the square you must join the two ends as described a couple of posts ago - please look back if you have forgotten, it's in the mitred corners post - turn the binding to the back and sew by hand, folding neat corners as you do so.

Please ask me to demonstrate any of this if it is not clear.

Finally press the edges of your work.

To follow:  several different ways to hang a wall quilt, a label for the quilt, and various decorative edges.


Tuesday 22 July 2014

Endings - Bias Binding and Edges Turned In

Bias Binding is used when binding an edge with curves.

For my small sample I have curved the corners and I am using single fold binding which has been cut across the fabric at a 45 degree angle.

Your quilting ruler will usually have a 45 degree angle marked on it which is meant to be aligned with the selvedge of your fabric and then the straight edge of your ruler can be used to cut the material on the bias.

While the fabric is folded at this angle press the fold and this will be a guideline for cutting your fabric on the bias.

For my sample I used a 2" wide binding but only a 1/4" seam as it has to go around corners and a narrower seam goes round more easily.  However, when I got to the point of turning the binding to the back to hand sew in place I found it was too wide and had to cut some off making it about one and a half inches wide in the end.

It needs to be pinned from the outside edges inwards if it is a curved edge.

My binding piece was long enough so did not have to be joined.  As there were no joining seams to be matched I finished the two endings with straight edges.  To do this leave a few inches not sewn as you get near to the end, lay the binding flat and let the beginning and end pieces overlap and trim so this overlap is half an inch, place right sides together and sew a half inch seam.  Test when you lay it flat that it fits the edge properly, sew this joining seam and then finish sewing the edges.

Turn the binding outwards and press, turn to the back, turn under 1/4" and hand sew in place.

With the magic of computer technology the colour of my binding seems to have changed!!
 

Next: an edging without binding.


Edges can be turned in without a binding.  Again using a top layer, a wadding and a backing.  Cut the two fabric layers a 1/4" wider than needed - mine measured 6 1/4".  Cut the wadding 3/8" smaller than the fabric.

Press the edges of both fabric layers in by 1/4"

Put the three layers together and pin in the centre so they don't move around.

Turn the top layer fabric over the edges of the wadding and also turn in the edges of the backing layer to meet the top.  Pin them neatly together so that the backing does not show.


Hand stitch all round the edges tucking any loose threads of fabric into the turning with your needle


A lovely neat finish!


Monday 21 July 2014

Edgings - Binding for Mitred Corners

Using single fold straight grain binding, 2" wide with a half-inch seam.  On a 6" square sample the binding looks clumsy but on a bigger piece of work it would be fine.

After calculating the length of binding needed it may be necessary to join some strips together. Place the two ends of the binding at right angles right sides together and draw a line across the intersection as shown.  Sew and trim and press the seam open.

Place the raw edges of the binding on your layers of fabric, wadding and backing leaving a good 4" at the beginning and starting from the middle of one side.

Use a half-inch seam and pin up to the first corner, but mark with a pin the half-inch stopping point before the corner.  Begin to sew the binding but stop sewing at this pin ready to create the first mitre.

Fold the binding up and back in line with the second side then fold the binding down again to create a neat fold with the fold on the edge of the first side just sewn.  Pin and sew from the fold right along the second side until half an inch away from the corner as before.

Repeat around side three and the beginning of side four.  Stop sewing about 6" away from the beginning of the binding.  (My 6" square did not give me this much room but normally you would be sewing a bigger piece of work).

Joining the binding: the beginning and end of the binding has to overlap by the same measurement as the width of the binding.  Mine is 2" so it has to overlap by 2".  Lay it flat, measure, and trim off the excess.


Place the two edges at right angles, right sides together and mark the intersection.  Pin this seam and test to check that it will be the correct measurement to finish your binding lying neatly and flat.  Sew the seam, trim and press open.  Now finish pinning and sewing the binding around the work.


Once the binding is sewn all around push out the corners with your fingers and turn them to the back and the mitres will form.

 Finger press the mitres in place. Turn in the seam at the back shaping the corners into neat folds. Press 


Sunday 20 July 2014

Sample One of Edgings

For my course work I have to produce a range of samples of different edgings.  So over the next couple of weeks I shall be putting them on the blog as I do them.


 As I progress I will put them here with some brief instructions.  Anyone wanting to go into this in more depth please ask me for more detail.

For all these samples I will use 6" squares of fabric and backing and a 6" square of wadding in between.  This photo also has the green single-fold binding strips showing. 

This first sample is of an edging with single-fold binding and overlapped corners.


Cut the binding strips 4 times wider than you want the finished edge to be ( I want 1/2" edges so I have cut them 2" wide).  My square is 6" so I have cut the first two strips for the sides 6 3/4" long (they will be trimmed to match the edges of the square after sewing).  I cut the remaining two strips 7" long as they have to extend over the square and the two side bindings. 

Half inch seams are used here for this type of binding as it is single fold.  The fabric and wadding will bulk out the half-inch edges as it folds over.

Fold the strips lengthways wrong sides together and press. This mark should line up with the edge after sewing.  With raw edges matching and right sides together pin and sew the first two sides. 

Press the seams open with the iron.  do be careful not to have the iron too hot or it may wrinkle and shrink or melt the wadding, particularly if your wadding is made of polyester.  Keep the iron away from any exposed wadding on the edges. 

Fold the strip over the edges and turn in a half-inch seam then hand sew to the back of the square.

Trim off the surplus fabric at the edges so they line up exactly with the edge of the square.

Next pin the two remaining strips to the other sides, raw edges together as before and sew with a half-inch seam.

Press the seams open as before.  Trim the excess fabric from the edges but leaving a good 1/4" or more to turn in matching the edges to the strips sewn before.  Iron the turning in place and pin as shown on this photo.

Now turn these strips over as before and neatly catch in place by hand the corner turnings.  Sew the turned under seams by hand as before.

Press all round the edges with iron on cotton setting and your finished edges should form neat squares on the corners of the sample.

The next sample will be similar to this but have mitred corners.

Saturday 12 July 2014

Making an Irridescent Picture

Making a picture on velvet from shiny sparkly bits and pieces is fun.  You could add a border afterwards and turn it into wall art, or pin it to some foam board as I have done and plan how to improve on the next one, or just enjoy it for no other reason than that. 

To start off you need a design, some black velvet, some Bondaweb, some baking parchment and lots of pretty things like sequins, micro-glitter and other shiny stuff.

An iron and a pad to iron on is essential, and a space where clearing up afterwards will be easy.


Here are just a few photos to get started.

Draw the design on to the paper side of the Bondaweb.

Cut across the horizontal lines of the design on top of the velvet and pull slightly apart.

Choose some parts of the design where you will use hot spots glue dots instead of Bondaweb and cut the Bondaweb away in those areas.  See here at the base of Bredon Hill and to the left of the church.

When you have started to work on the picture by removing the strips one at a time and using foil to decorate the velvet, move on to use the Hot Spots before removing the Bondaweb which will surround them

Hot Spots are on the back of brown paper and are fused to the velvet with a hot iron using baking parchment around the other parts of the design. After allowing it to cool remove the brown paper and use foil and other decoration on the little glue dots just the same as with Bondaweb. 


The earlier blog below discussed using Bondaweb and foils.

Here you see the two spaces cut from the design now decorated with foils and sequins on top of the Hot Spots.

Another technique to try is using fusible film. this is a shiny material that fuses to itself and can be bonded to other surfaces.  I have used it here for the river at the base of the hill and it catches the light and changes colour.

I also used it to make a moon by fusing some foil in between two layers of the film then cutting out a circle.

Never forget to use the baking parchment.
Don't forget to allow the Bondaweb and the Hot Spots to cool before trying to remove the paper.


On the last picture you can see some silk strips which were backed with Bondaweb, cut into strips and bonded on top of everything else.