Saturday 29 March 2014

Landscapes

Gently curved seams are a feature of landscapes and here are some photos and description of a landscape I have created to be included in my Scrap House Quilt.

For yours, choose a range of materials that symbolise your preferred landscape and lay them out into a pleasing arrangement before you start.

These are cut into strips about 12 inches wide and varying in depth from 2 to 5 inches.  They will be overlapped before cutting the curve so they need to be a little deeper than the finished strip will be to give you some artistic flexibility!

Strips can be made from smaller pieces joined together as this will create a more interesting landscape.  The strip shown here on the right with 4 pieces joined together was cut from the end of another landscape I had made which was too wide.

Start from the front of your scene (the bottom strip) and overlap this with the next strip up.  Overlap it enough so that you can cut a gentle curve with your rotary cutter through both fabrics.  No need to pin it, just be sure not to get your fingers too near to the rotary cutter.  This was demonstrated on the DVD which is still available to borrow on request. 

Pull apart and remove surplus fabric. 

Turn the strips to the wrong side, butt the two curves up together again and put a matching up mark on the centre of the two edges with a soft pencil.  Use this mark as a starting point to pin your curved seams together, gently easing the edges together with your fingers and pinning from the raw edges inwards. 

Now sew a very narrow seam removing the pins as you go and keeping the edges of the curves together.


Here you can see the narrow seam.

It's OK to press the seams open as you go if you have used a pencil mark on the back but remember that marks made with a vanishing marking pen will be made permanent with a hot iron so remove them with water first.


Continue on strip by strip cutting curves, marking a match-up point, pinning, sewing a narrow seam and pressing open. 

I found that it helped me to match the curves by trimming the edges of the joined pieces level with the one about to be joined.  This gives 3 matching points - the pencil mark and the two edges.

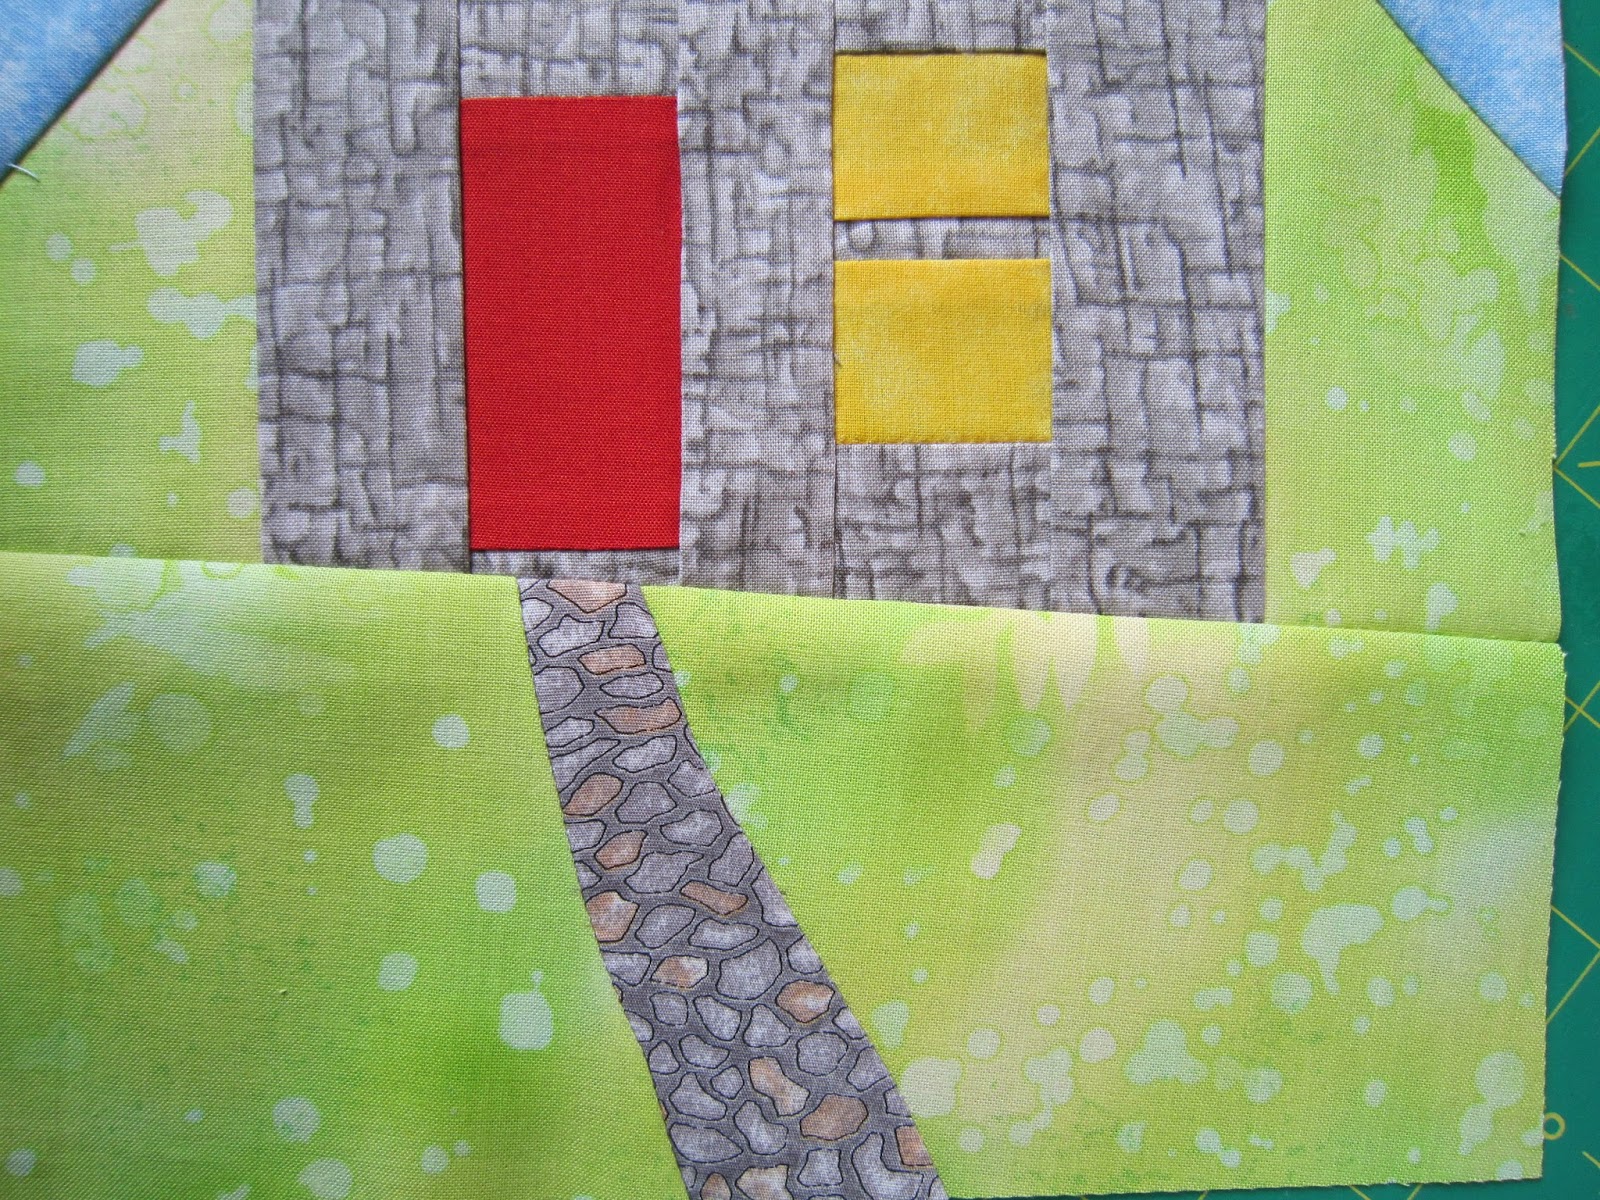
Finish the landscape by adding some sky at the top to give the scene depth.


Probably best to leave any major trimming of the edges until you are ready to add it to the quilt top later.

Friday 28 March 2014

Curved Seams

For the Scrap House Quilt some gently curved seams could be useful for garden pathways or background landscapes.  The method shown works fine for gentle curves but more extreme curves need a different technique which we will cover another time.

For the curved garden path you will need to choose two fabrics.  The first wide enough for the whole garden and another a little wider than you want the path to be.

You need to overlap the fabrics along the one pathway edge and freehand cut a gentle curve through both fabrics.  Take the surplus fabrics away and butt up the two colours so that the curves match exactly.  You will see I have cut both sides of my pathway before sewing but you could cut and sew them one at a time.

With a marking pen put a dot on either side of the cut - this is the starting position for pinning the curved seam together.

Ease the two edges together with your fingers and at regular intervals pin from the raw edge towards the middle.
Sew together with a narrow seam as near to the edge as possible without leaving gaps in the seam. 


Now remove the marker pen dots with a cotton bud and some water before ironing the seams as a hot iron would set the marker pen and make it permanent.
 Give the seams a good press and the garden and path is ready to attach to the base of the little house.

Next time I will demonstrate how to create a background landscape with curved seams.


Tuesday 25 March 2014

Little House Variations

I am making some assumptions today.  I hope and assume our Quilting Arts Group will continue and I also assume that some members will want to go on to make the Scrap House Quilt.

The larger Scrap House Quilt is based around about nine little houses so it will make it more interesting to vary the houses as much as possible.  As well as different colours and patterns we can vary the landscape and gardens around the houses but also the shape of the houses themselves.

The smaller of the quilts made by Katherine Geurrier has three houses, but we, of course, can do just what we want in terms of size, shape and number of houses.

I have made a larger house, shown here, and updated the details and sizes which I will bring to our session on 6th April for anyone wanting to use them.  The roof is a bit too tall for my liking though, and I have to put some more foliage on the tree.  I used the door porch idea on this one as described on the DVD (please ask me if you want to borrow it again).


 On another one, not finished yet,  I have put in an extra window and made the wall sections slightly wider. 

I want to add embroidered or appliqued details to some of the ones I have made and hope to combine that with our Embroidery workshop at the next Bredon Crafters.

I have a very nice design for an appliqued tree which I will also bring to Quilting Arts on April 6th for you to use if you like.

You will have your own ideas how best you can change the shape and design after making two or three from the original pattern.  I suggest you start making some more houses and gardens if you have time so that you can come up with some of your own changes to the original design and make the quilt your own. 

This is my sewing companion Puzzle.  He is always very interested in what I am doing and wants to be 'where it's at!'


Diamonds

Adding strips and blocks in between the houses is a good way to learn new tricks and skills.  Our Scrap House Quilt will be made up of picture blocks and more traditional blocks with names.  This one is called Diamond Strip.


The dark blue for the diamonds is cut at 1.5" X 10"

The flowered strips are cut to measure  1.75" X 10".  Using a scant 1/4" seam throughout stitch the three strips together and press the seams towards the outer edges. Next cut one of the ends straight and then cut it up into 1.5" segments as shown.

Reposition the segments so that the corners of the centre fabric match up to create diamonds.  Pin and stitch together and press the seams to one side.


 Make sure to use only a scant 1/4" seam throughout so that there is enough fabric on either side of the diamonds once the edges have been trimmed straight.

Trim the edges level and add strips on the ends and either side to create a block or strip large enough for your purposes.


Building A Fence

I think it's time to start creating the Scrap House Quilt.  So today I have put a fence in front of some free range pigs.  Blocks like this can go alongside the little houses together with some more traditional blocks.  Over the next few days I will put some examples of landscapes and strips and houses for you to consider and to help you design the content of your own quilt, either large or small.

The fence panel is made up of strips measuring 1.5" wide and 6" long.  Every strip adds an inch to the width of your fence so you can decide how many to make.  Choose a fabric which gives the impression of a fence, and for the scene behind the fence you will need a novelty fabric with something like flowers or animals or a seaside scene.

The top of the fence is made pointy by using small 1.5" squares of the novelty fabric but when you cut out the little squares for the top of the fence choose areas of background that don't include bits of the motifs because that might look weird!  So notice where I have ironed squares of freezer paper to the background areas I will cut out because I don't want bits of the pigs stuck to the top of my fence!

I made a 1.5" square plastic template first then drew round it on to the freezer paper, ironed these on to the fabric, shiny side down, and cut out with the scissors. Freezer paper shapes can be used several times before they won't stick any more.

 Place the little squares at the top of the fencing strips RST (right sides together) and draw a diagonal line from top left to bottom right as shown.  Pin and stitch this line and then cut away the corners at top right, turn to the right side and press well.

Now all the strips need to be joined along the long edge. Once they are joined together press nice and flat and trim the top edge straight but do not trim too much or you will loose the nice pointy bits of the fence at the top.

 Next the fence has to be attached to the square of novelty fabric (it is underneath and can't be seen in this photo).  Sew with the seams uppermost so they do not twist in all directions.  I have pinned mine from the edge facing downwards to keep the seams flat but when sewing take care to remove pins just before the needle gets to them as hitting a pin can break the needle. 

And here is the block all ready to be assembled near to one of the little houses.


Saturday 15 March 2014

Silk Beads

Here is a little tutorial on making beads from your own painted silk.

You need painted silk, Bondaweb, a metal medium size knitting needle and an iron.

Back your piece of silk with Bondaweb using a silk setting on the iron.   Draw elongated triangles on the paper side of the Bondaweb about 8" long and 2 - 3" wide at the widest end.

Cut these out and when cool peel off the paper - use a pin to release the silk if necessary.

Turn the top inch of the widest part of the silk down on the Bondaweb side so it won't stick to the needle and start to roll around the knitting needle until you get to the narrowest point of the triangle.


The photo here shows the silk being rolled and also a piece of silk being released from the Bondaweb.

Take the rolled silk to the iron on the knitting needle and with the point of the iron, still on a silk setting, gently touch the roll and turn it under the iron so the Bondaweb sticks the silk to itself.

Let it cool for a few seconds then push the bead off the end of the needle.

When cool the beads can be cut to a smaller size if you like.

 Note:  if you roll the silk on to the needle without turning down the top first you may not be able to get it off the needle!

Thursday 13 March 2014

Passed Module 8

I am so pleased I have just had my feedback on Module 8 and have passed it and been given the go ahead to make the bag I have designed and to start on Module 9.  This is the bag I have designed, I only have to make it now!

Also thought you might like to see a couple of the samples from Module 8 which was mainly about twisting and tweaking fabric, some of which will be incorporated into the bag.


Tuesday 11 March 2014

Double Pinwheel

Thinking of our next stage in the Quilting Arts Group - those who plan to make the Katherine Geurrier Quilt may like to practice a block that she includes in hers called the Double Pinwheel.
Quarter triangles are used together with some plain triangles as shown in the photos below.
 
Cut 2 contrasting coloured squares 4 1/4in. Place squares right sides together.

 Draw 2 diagonal lines and stitch 1/4in away from these lines in a 'windmill' pattern from the edge to the centre.  See stitching in red.

 Cut across both diagonals to make 4 bi-coloured triangles.


From another colour fabric cut two
 3 7/8in squares and divide these across one diagonal line to make four triangles.  In this photo there are two pieced and two plain triangles but you will have four of each.

Stitch one pieced triangle to one plain triangle four times and then stitch these together to make the double pinwheel as shown below.   For more help please bring your fabrics and work to the Quilting Arts session.


 Press the seams as you go.  Press the seams to one side and when piecing them together aim for neat joins.  We will talk about this in one of our sessions.


Baltimore Applique

Not much has been published here for a while but lots going on behind scenes.  the Baltimore Applique and 3D Applique for my course work took lots of time and effort.  I would not suggest that we try the formal Baltimore Applique for a while but I do think we will enjoy some dimensional flower applique quite soon as the results are so pretty and can be used in lots of ways.
 
The Baltimore Applique Block:
 Each stem and leaf and flower is made individually using freezer paper or plastic templates.  All sewn on by hand with tiny stitches.  It does take a long time but once done looks really pretty.

A lot of Baltimore work is dimensional or 3D. 
The complete album quilts made about 150 years ago in the USA were made up of blocks similar to this and all different.  One can only admire.

Perhaps old fashioned now but the 3D work done today is probably more to modern tastes and very interesting to do.


Here is an example of 3 dimensional applique and you can see it is made up of bias stems (very thin but easy to make by folding, pressing and tacking, then hand stitching on to the design you can faintly see on the material).  The flowers are made by ruching strips of folded fabric using a running stitch in a diagonal pattern from top to bottom.  The leaves are cut out around a freezer paper shape, tacked and then hand stitched to the background.  The centre can be a French knot or a bead.  We can do this!


Friday 7 March 2014

Baltimore Applique

My last few days have been overtaken by working on a Baltimore Applique sample for my course.  It has been time consuming and patience testing.  But I have done it and am now planning the final sample for this module - a dimensional applique.  The experience of the last few days has taught me that Baltimore Applique is probably not something I will choose to do very often if at all (life is too short).  But I know I will enjoy creating the dimensional flower as I have made some before and have plans to add these to a future project.
 
Here is the Baltimore Applique finished block:
 
Each piece is drawn on freezer paper, cut out and ironed on to the wrong side of the fabric.  Fabric is then cut out with a 1/4" seam allowance then tacked to the freezer paper before appliqueing to the background using tiny invisible stitches.
 
One hard lesson I learned.  If using poly-cotton thread for tacking, do not iron with a hot iron as the polyester in the thread melts and sticks to the fabric and is impossible to remove!
 
These photos below show my preparation work for the 3D dimensional flower I am going to make next.  With luck comments and photos of completed work will follow in a little while
 
 Dimensional Flowers would look very pretty on a bag.  I have to design a bag now for the next part of my course and I wonder if this would be a popular idea for the Quilting Group later on after we have completed our Kathrine Geurrier Scrap House Quilts.  Let me know what you think.