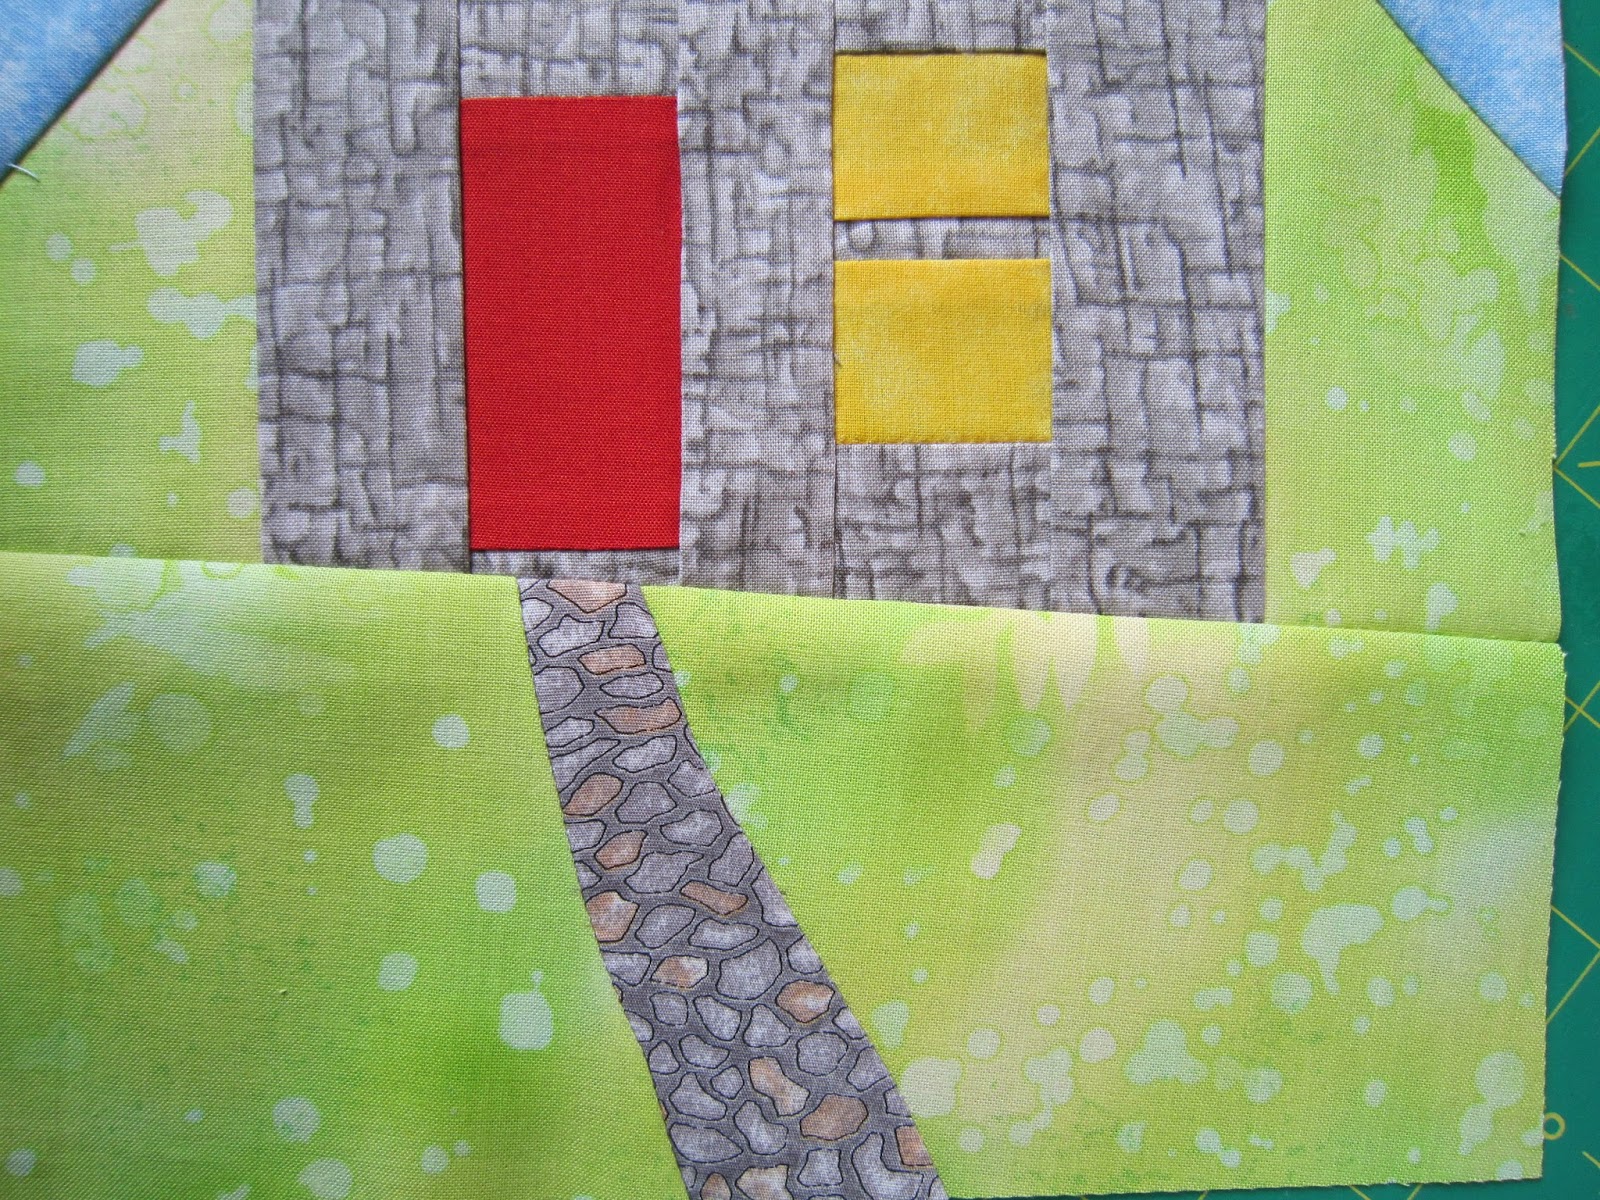
For the curved garden path you will need to choose two fabrics. The first wide enough for the whole garden and another a little wider than you want the path to be.
 You need to overlap the fabrics along the one pathway edge and freehand cut a gentle curve through both fabrics. Take the surplus fabrics away and butt up the two colours so that the curves match exactly. You will see I have cut both sides of my pathway before sewing but you could cut and sew them one at a time.
 With a marking pen put a dot on either side of the cut - this is the starting position for pinning the curved seam together.
Ease the two edges together with your fingers and at regular intervals pin from the raw edge towards the middle.


Now remove the marker pen dots with a cotton bud and some water before ironing the seams as a hot iron would set the marker pen and make it permanent.
Next time I will demonstrate how to create a background landscape with curved seams.
No comments:
Post a Comment