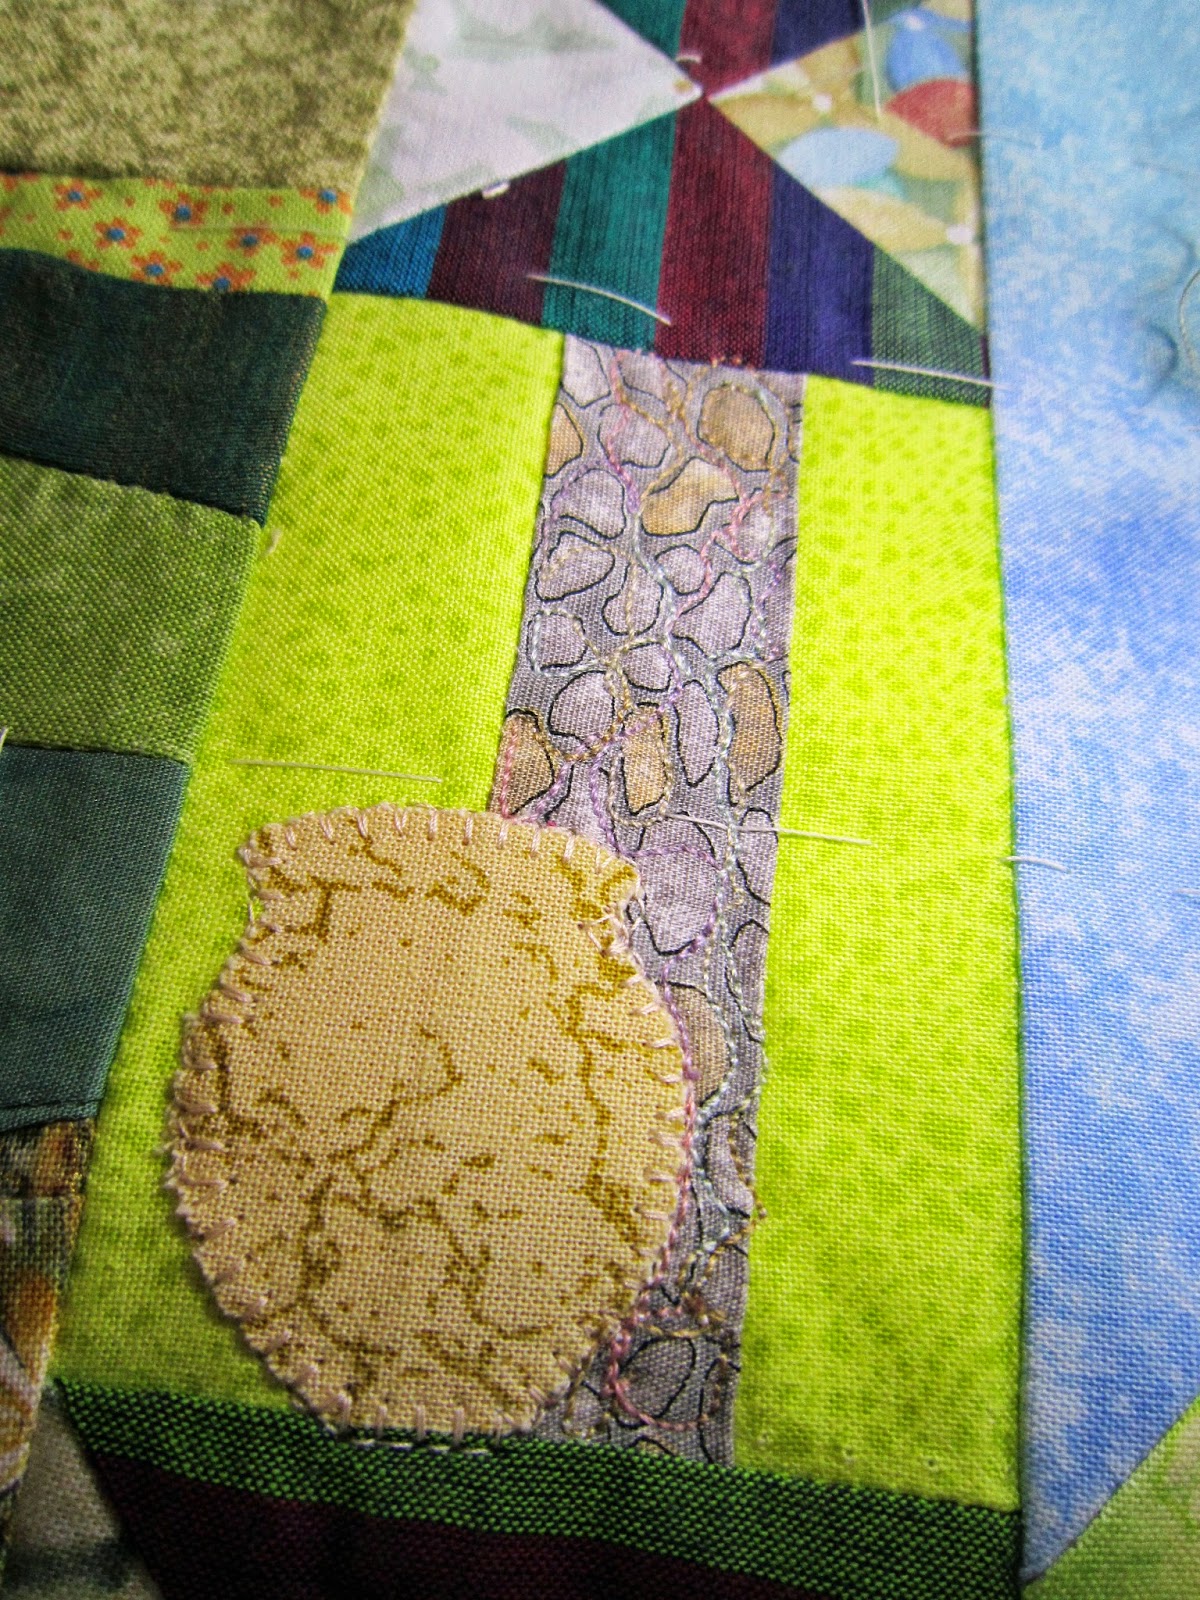
 The three sections of my Scrap House Quilt are ready and waiting to be quilted. First there is some preparation to do as follows:
 Back the sections with wadding a little larger than the top (I have used more than I need here).

On a flat surface smooth out the top on the wadding and tack the top in place. Start from the middle and work outwards with a series of grids about 4" apart.
Select some cotton quilting thread in colours to blend or match your design.

If you are machine quilting wind some bobbins in cotton thread - I am using white - and it's a good idea to wind a few so you don't have to stop once you get into the swing of things!
If free motion quilting set up the machine for that with the special foot, set stitch length to 0 and adjust your tension until the practice stitches look even on the back and the front. Put the feed dogs down. Ask for help if you want to practice some free motion quilting when we next meet.

At this stage I am not putting a backing behind the wadding because I will have to join the three sections together and I want the backing to be in one piece - more on that later.
Prepare a practice piece with cotton and wadding pinned together. Try out your stitches and have a go at the shapes you will use on the quilt.
Here you can see quilter's gloves in the picture. These have rubbery dimples on the fingers and make moving the materials around much easier when doing free motion quilting.
 When you have tried out your planned stitching technique on the practice piece turn it over to see if the machine tension is ok.
 Working with sections instead of the whole quilt obviously makes it easier to get the layers under the arm of the sewing machine.
Start quilting from the middle and work outwards. You can roll up the sides or edges and pin with large safety pins.

An advantage with free motion quilting is you can work in whatever direction suits you so you can turn the work into the most advantageous position.
Now I am going to quilt this first section and then move on to the other two sections in the same way.
To be continued ....

No comments:
Post a Comment